

If you need user authentication for your web or mobile app look no further than Amazon Cognito. The service is cheap and if you follow the steps below you will have a user pool created and ready for use with your app in 10 minutes or less!
I created this post as a first step to setup an example app with Quasar using Cognito for authentication. I will link that post here once it is published.
Steps
Login and Create a New User Pool
- Go to console.aws.amazon.com/cognito
- Click on the "User Pools" button
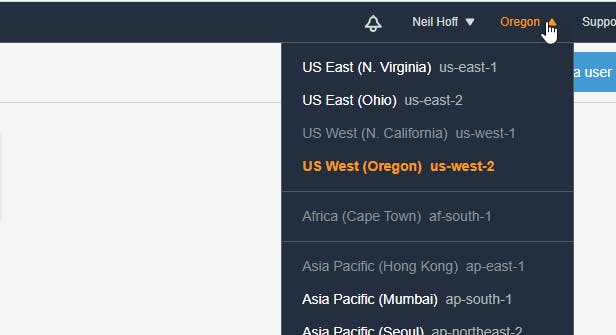
- Choose the region you want the user pool to reside in
- Click on "Create a User Pool"
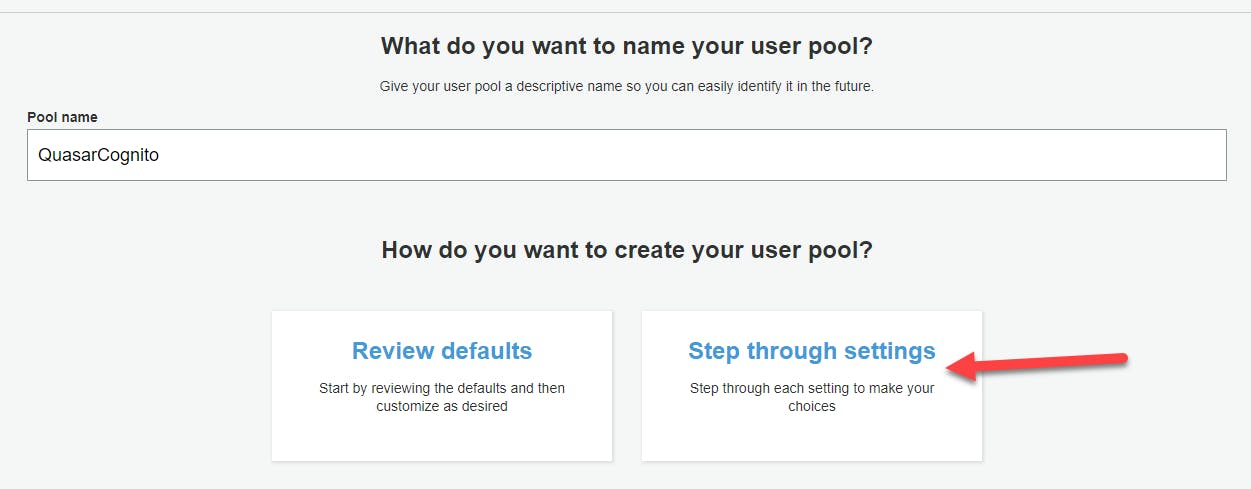
- Create a name in "Pool name" and click on "Step through settings"
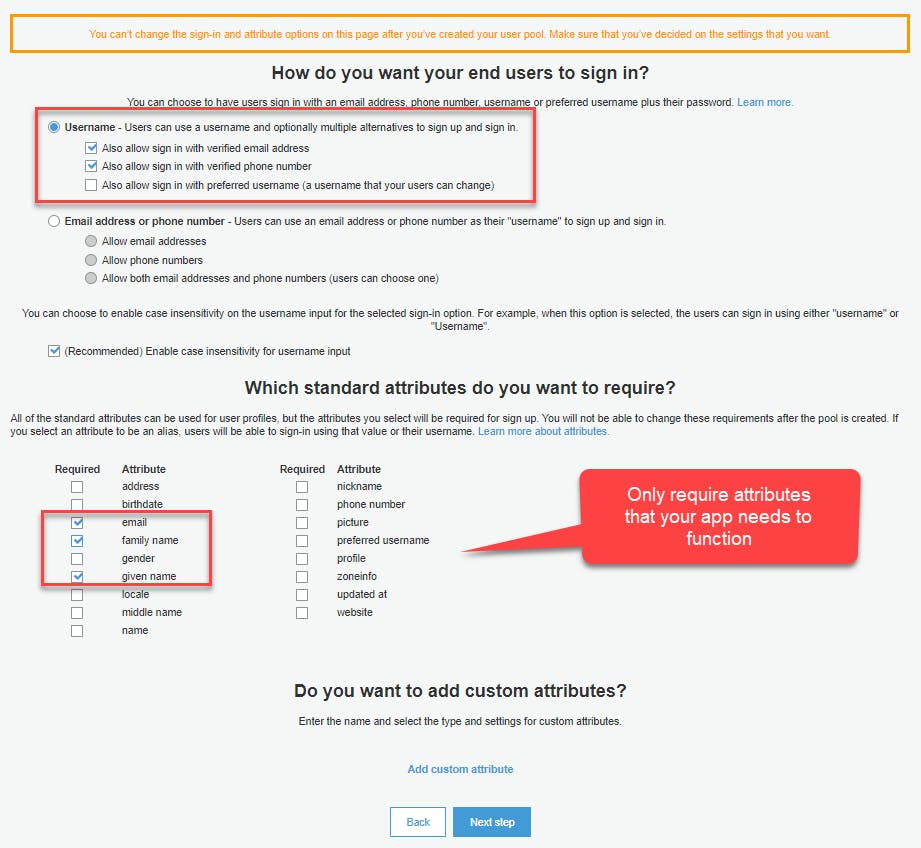
Sign in and Sign up Settings
- It is important to take some time and decide what you want for these settings since you will not be able to change them after the user pool is created
- I decided on using the sign in with Username and allow email and phone number
- The next section contains the standard attributes that you want to require on sign up
- All of the standard attributes will be available to use even if you don't require them. Be very careful to only select the items you need for your application to function. You will lose users if you require too much information from them at sign up.
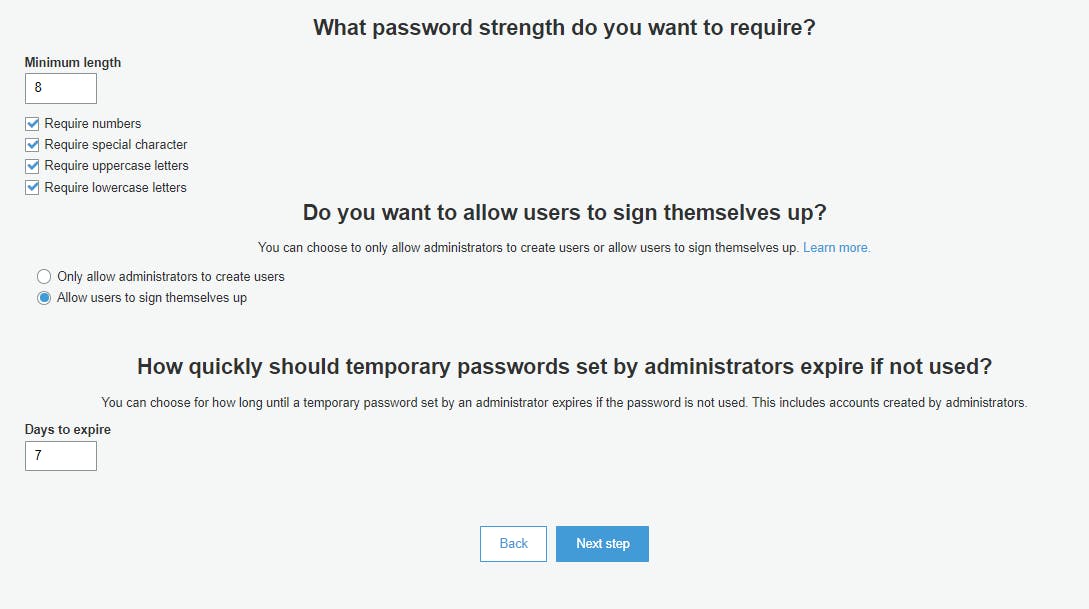
Password Security
- Strong passwords are important
- 8 characters at a minimum
- Numbers, capital and lowercase letters, and special characters
- The defaults are good
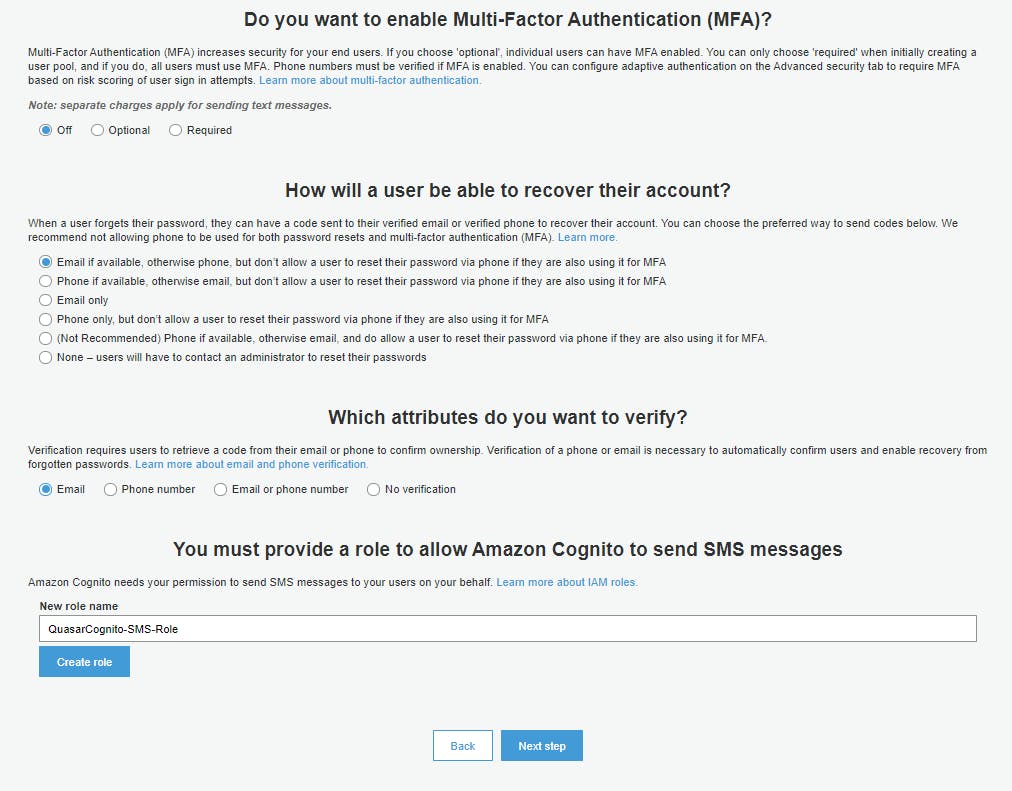
Multi-factor Authentication and Account Recovery
- Keep MFA off
- It can be setup later
- Choose the defaults for the rest
Customize Email Address and Messages
- Keep the defaults
- When you go to production you will need to setup an email through SES
Tags
- A way to keep your projects organized
- You can skip and move on to the next step
Remember your User's Devices
- Select no
- You will need MFA setup if you want to remember the user's devices
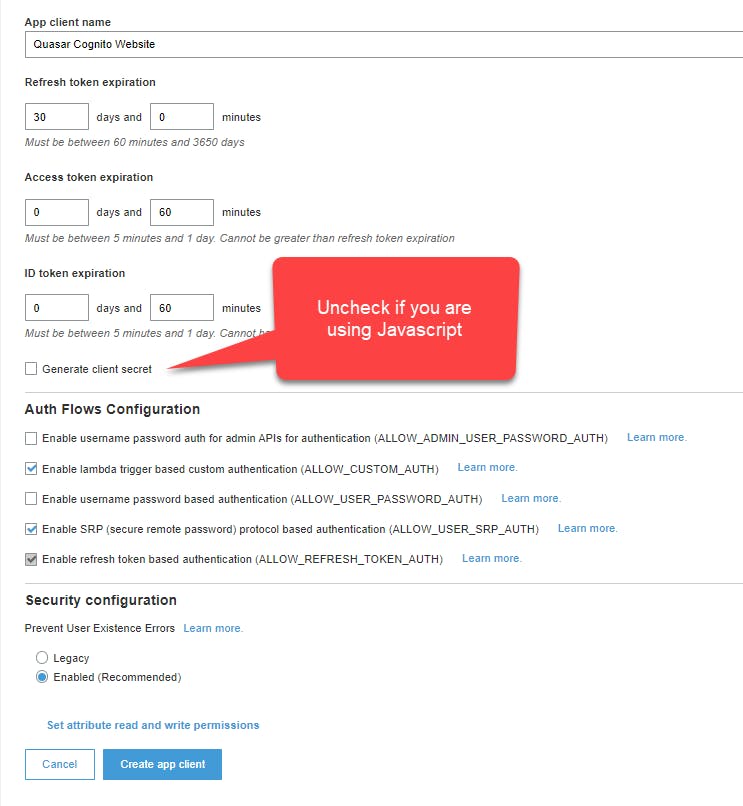
Create an App client
- An App client is required to use the user pool
- Give it a name
- Uncheck "Generate client secret" if you are using this app in a Javascript application
Do you want to customize workflows with triggers?
- You can set this up later
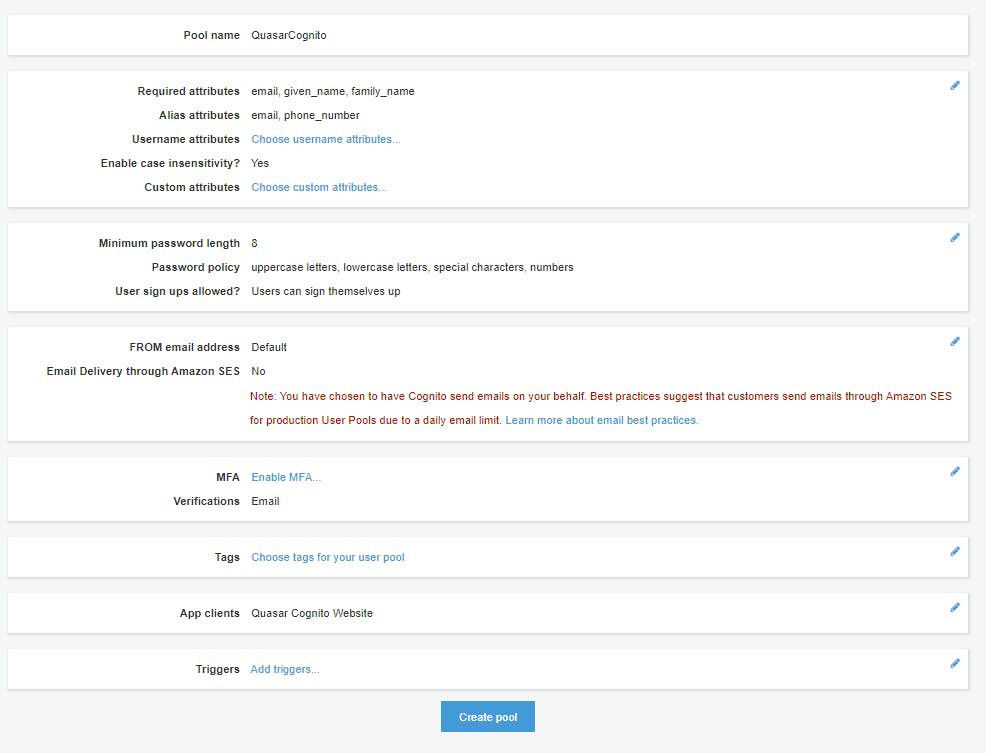
Review
- Verify everything looks good and click on "Create pool"
And that's it! You now have a functioning Cognito user pool. Happy coding!
Notes
- Verification email will be sent by no-reply@verificationemail.com
- You may have to check your spam folder
- Both Gmail and Protonmail mark it as spam
- Attributes needed for development:
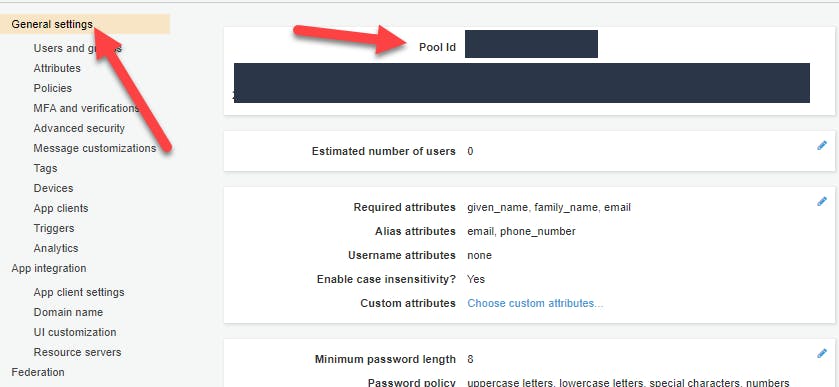
- Region
- The region will be the first part of the User Pool ID
- For example: us-west-2
- User Pool ID
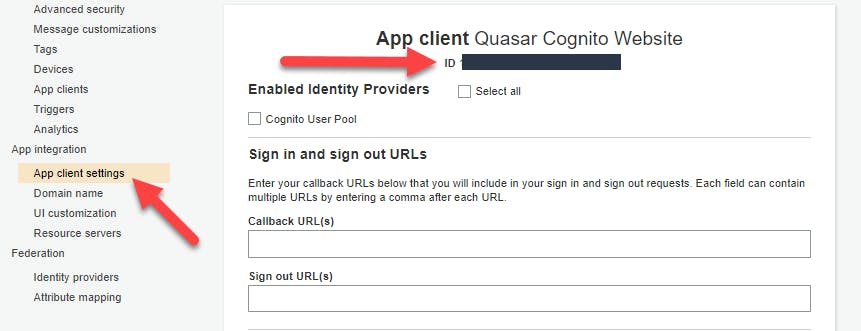
- Web Client ID (26-char alphanumeric string)
- Region